Custom Fields can be used either to enhance the ticket submission form by adding extra fields or to appear internally on the ticket details page, in order to add extra information for the ticket. They can be configured via the Custom Fields tab (WP Admin -> WPHelpDesk -> Settings -> Custom Fields).
There are two types of custom fields; text and drop-down. Text fields allow the user to freely type in them and drop-down fields allow a selection from predefined options.
Creating and updating custom fields
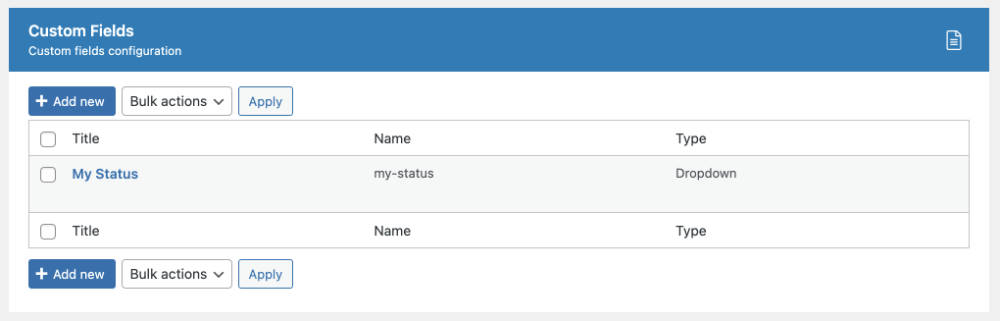
When a custom field is created or updated, the following options are available:
- Title – this is the label of the custom field, which will be visible to users.
- Internal name – this is the name of the custom field that the system will use internally to reference the custom field; please only use lowercase letters (a-z), digits (0-9), and the dash (-) or underscore (_) symbols; please note that it must be unique and it cannot be changed after the field creation.
- Display in Client Portal – determines whether the custom field will be shown to the user when viewing a ticket in the Client Portal.
- Make it mandatory – selecting this option will make the custom field mandatory to complete; by default, it will be optional, so it can be left empty.
- Validation message – the error message that the system will display if the field is mandatory and it has not been filled; if left empty, a predefined generic message will be displayed.
- Type – either Text or Dropdown; if the text is selected the user will be able to freely type in an input field; if Dropdown is selected, the user will be asked to select one from a set of predefined options.
Selecting the Dropdown type will allow you to enter the predefined options by clicking the “Add option” button. Clicking it will show the following options:
- Label – the label visible to the users.
- Value – this is the value that the system will use internally to reference the option; only integers values (i.e. numbers) are allowed and each field will need to have a unique value; it is advised not to edit this value after it has been created, otherwise it might affect the values already selected in existing tickets.
- Text colour & Background colour – these fields allow to customise the colours of the drop-down selection.
You can edit or delete existing options using the relevant buttons.
Using and viewing custom fields
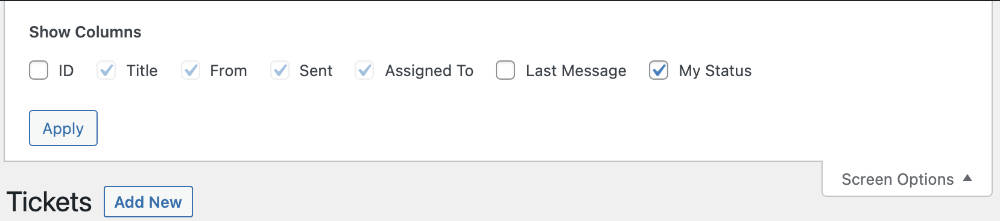
You can customise the tickets list (admin view) to display custom fields by clicking the “Screen Options”, selecting the fields you would like to display, and clicking the “Apply” button.
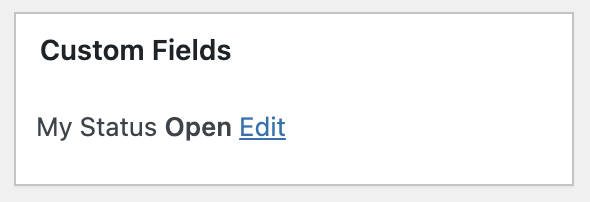
When viewing the details of a ticket as an agent, on the right sidebar a section called “Custom Fields” will display the configured custom fields and any selections or values entered by the user.
In the front-end, fields will be visible when viewing a ticket in the Client Portal if you previously checked the “Display in Client Portal” option and the field has a value.
Finally, if you are using the Submit Ticket Form or the Ninja Forms Integration, you can add custom fields to the forms; please check the relevant documentation pages for more information.